Hello, friends! I hope that you are having a wonderful Monday so far! I had a lovely weekend, which was, of course, too short. A wonderful, simple, little weekend. Going to lunch with my friend Tenley at Ponder, wandering around an estate sale, and SEWING!
I’ve seen so many different DIY’s for making these little “cotton” pads, but I thought I’d share my experience. In everything I do, I’m quite utilitarian. Food? Tasty, but not pretty. Home decor: Useful first, cuteness last. (I know, shocking!) And sewing… As long as the stitches keep things together, I’m fine. Pretty stitching is not my top priority.
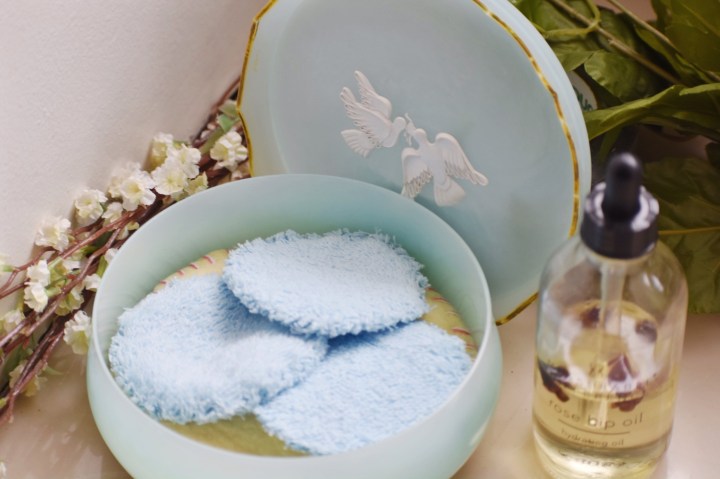
I find these pads to be pretty darn cute, but that’s mostly likely because I find everything small to be adorable. I’m sure that someone who is better at sewing could make these even cuter, but I think that all in all, they turned out pretty well! They did what they were supposed to do — remove makeup!
Materials Needed:
- I used terry cloth. If you have any old towels that are getting a little dingy, you could use those as well.
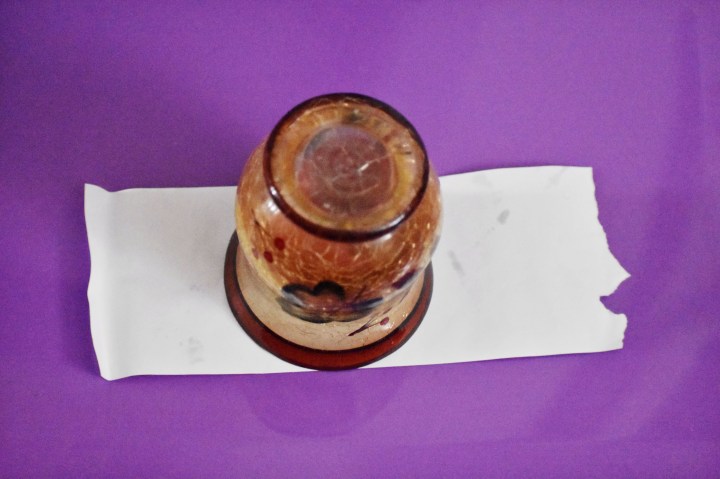
- A circle stencil. This can be all sorts of things, get creative! I used a small glass, but you could choose so many different things. A cookie cutter, an old jar, or even the bottom of a shampoo bottle! Whatever you choose, make sure that it’s just a bit bigger than your desired size, because you’ll lose a little material from cutting and sewing.
- Some paper, for said stenciling. I recommend reusing some recycled paper for this step! I used the paper that came attached to the fabric.
- Pins, for two different steps. Very important!
- Sewing needle, or a sewing machine. (I sewed this by hand. A sewing machine is on the top of my want list, though…)
- Thread. I used a thread that was close to the color of my cloth, but it could also be cute if you chose a contrasting color!
Okay, friends! Here we go!
Step One. I used my stencil to make a circle on the piece of paper. I suppose some people may be able to free-hand this, but I wasn’t taking any chances! Once you’ve traced it, cut it out!
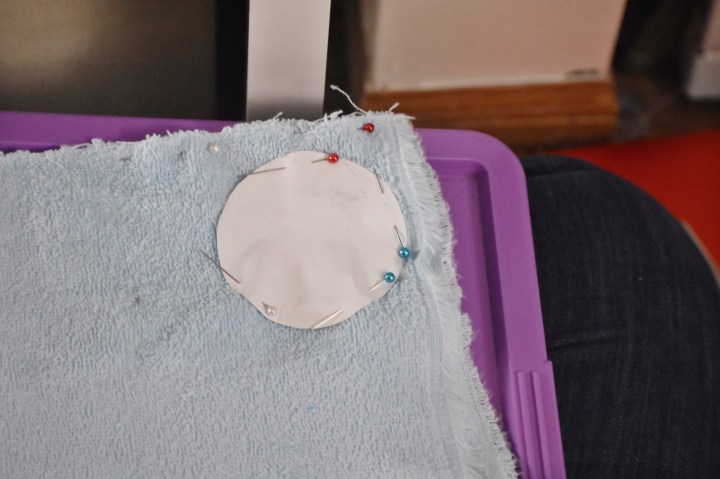
Step Two. After you cut out the stencil, pin it to the fabric. I also pinned the fabric to itself so that it wouldn’t shift at all, as shown in the below picture.
Step Three. I cut out the circles two at a time. You could do more or less, depending on how thick your fabric is.
Step Four. Depending on how thick you want these to be, you can do varying layers of fabric. I chose to do three.
Step Five. I sewed all three of the pieces together! There are so many ways that you could go about this, but I just sewed all the way around the little circle, nothing fancy. If you want to speed up the process, you could definitely use a sewing machine.

Step Six. Remove any loose strands and snip any excess fabric.
Step Seven. Remove your makeup! Yay!
Thank you so much for reading, my friends! I had such a fun time with these. They were SUPER easy to do. And they worked like a charm, too!
Happy crafting!
XOXO,
Mattie Mae


One thought on “Sewing Stories: Reusable “Cotton” Pads.”